

I recently added the Visual Redemption mod to my Red Dead Redemption 2, and the difference it makes is truly remarkable. This mod significantly enhances the game’s visuals, taking them to a new level. If you are interested in trying it out, I have outlined the steps you need to follow to get the best results.
What is Visual Redemption
Visual Redemption is what you’d call a “work-in-progress” graphics overhaul mod for Red Dead Redemption II on PC, created by Razedmods. It’s not just a simple graphics mod; it tweaks the game’s visuals to make everything more vivid and detailed.
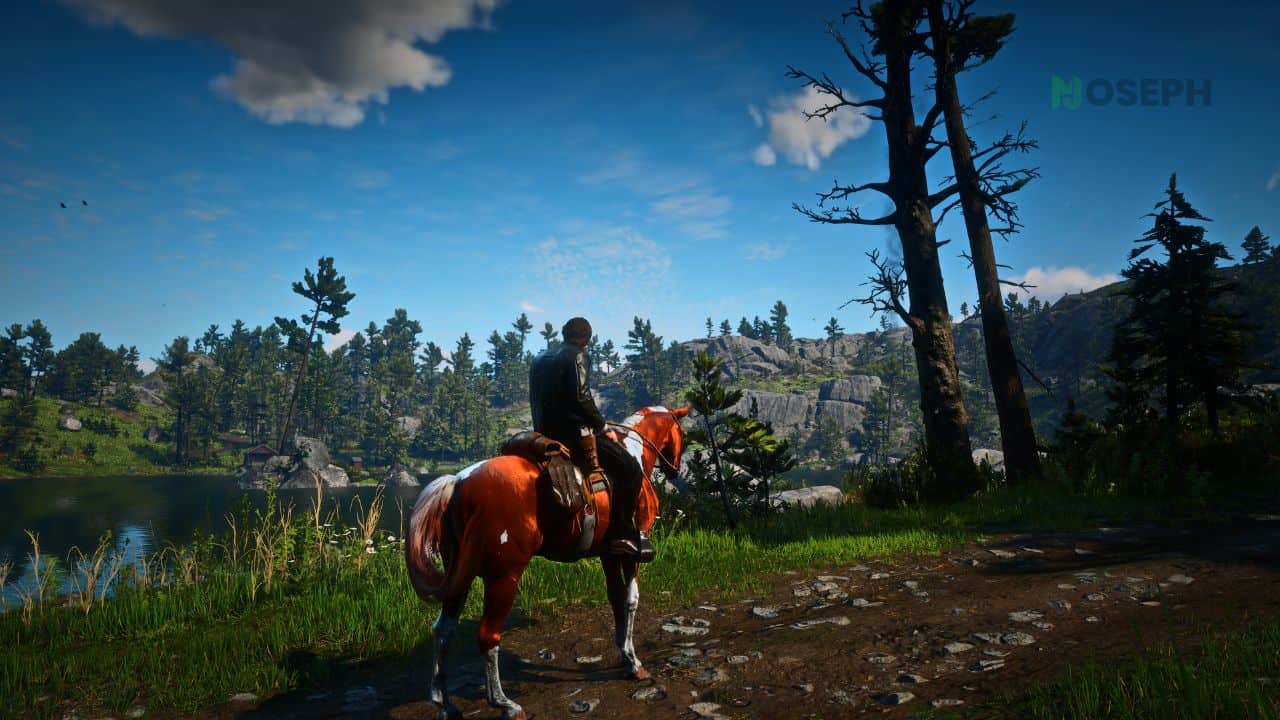
From my perspective, I wouldn’t even say it’s just a graphics mod. It feels more like giving the game a whole new layer of realism. The changes it makes aren’t about adding new things but refining what’s already there, like the lighting and colors, so the world of Red Dead Redemption II becomes even more immersive.
It’s like the game’s stunning environments have been dialed up, and every scene, from the quiet countryside to the bustling towns, feels more alive.
Note: Before You Install Visual Redemption Mod
Before you get started with the Visual Redemption mod, taking a few simple steps can really make a difference and save you from some headaches later.
First off, you’ll want to make sure that the mod is actually meant to work with your specific version of Red Dead Redemption 2. It’s like making sure a puzzle piece fits before you try to jam it in place; otherwise, you might end up with the game acting up or even crashing.
Backing up your game files is another smart move. It’s your safety net. If anything goes sideways during the mod installation, you can easily undo it and get your game back to how it was. It’s like having a plan B, ensuring you can enjoy the game with the new mod without losing any of your progress if things don’t go as planned.
I found these steps crucial in my own experience, making the mod installation smooth and letting me enjoy the upgraded visuals without any bumps along the way.
Steps To Install Visual Redemption And Required Mods
Installing Visual Redemption in Red Dead Redemption 2 requires a few additional steps and mods.
Step 1. Download Visual Redemption
- Visit the official website of Visual Redemption.
- Navigate to the download section and click on the link to download the mod.
- Save the mod file to your computer, ensuring it’s in a location you can easily access later.
Step 2. Download Script Hook RDR2
- Go to the official Script Hook RDR2 website.
- Download the latest version of Script Hook RDR2 to ensure compatibility with your game.
- Extract the downloaded archive into your Red Dead Redemption 2 game folder. This step is crucial for the proper functioning of the mod and other scripts.
Step 3. Use Lenny’s Mod Loader
- Download Lenny’s Mod Loader from a trusted source to ensure you have a safe and reliable version.
- Extract the downloaded archive to your Red Dead Redemption 2 game folder. This mod loader will help you manage your mods effectively, making it easier to add or remove them as needed.
- Follow any additional setup instructions provided with Lenny’s Mod Loader to ensure it’s properly integrated with your game.
Step 4. Install Reshade
- Visit the official Reshade website to get the latest version of the tool.
- Click on the download button and run the Reshade installer.
- When prompted, select your Red Dead Redemption 2 game executable. This is where you’ll apply the Reshade effects.
- Choose the rendering API that suits your preferences. Vulkan is recommended for better performance and compatibility, but DirectX 11 is also an option.
- Select the effects you wish to install. These will enhance the visual quality of your game.
Step 5. Install ReShade Shaders
- Obtain the shader files for Reshade, which are essential for the visual enhancements.
- Place these shader files in the “reshade-shaders” folder within your game directory. This will ensure that Reshade can access and apply the effects correctly.
Step 6. Download RDR2 Photorealistic Reshade
- Head over to the RDR2 Photorealistic Reshade page on Nexus Mods.
- Click on the download button to acquire the mod file, which is designed to make the game’s graphics even more realistic.
- Follow the installation instructions provided on the Nexus Mods page to integrate the reshade preset with your game.
Step 7. Launch the Game and Activate Reshade
- Start Red Dead Redemption 2 and let it load.
- Once in the game, press the “Home” key on your keyboard to open the Reshade menu. This is where you can activate and customize the Reshade effects.
- In the Reshade menu, select the Photorealistic Reshade preset you installed earlier.
- Adjust any settings if necessary and close the menu to enjoy the enhanced visuals.
Once everything is set up, go ahead and start Red Dead Redemption 2. You’ll see the improvements from Visual Redemption and any other mods you’ve added.
You should immediately notice the graphics and visual quality are much better. It makes the game more immersive and enjoyable.
NOTE: I used the Vulkan API for my setup. You might consider DirectX, but Vulkan worked best for me.
My Gaming Setup and Performance Insights
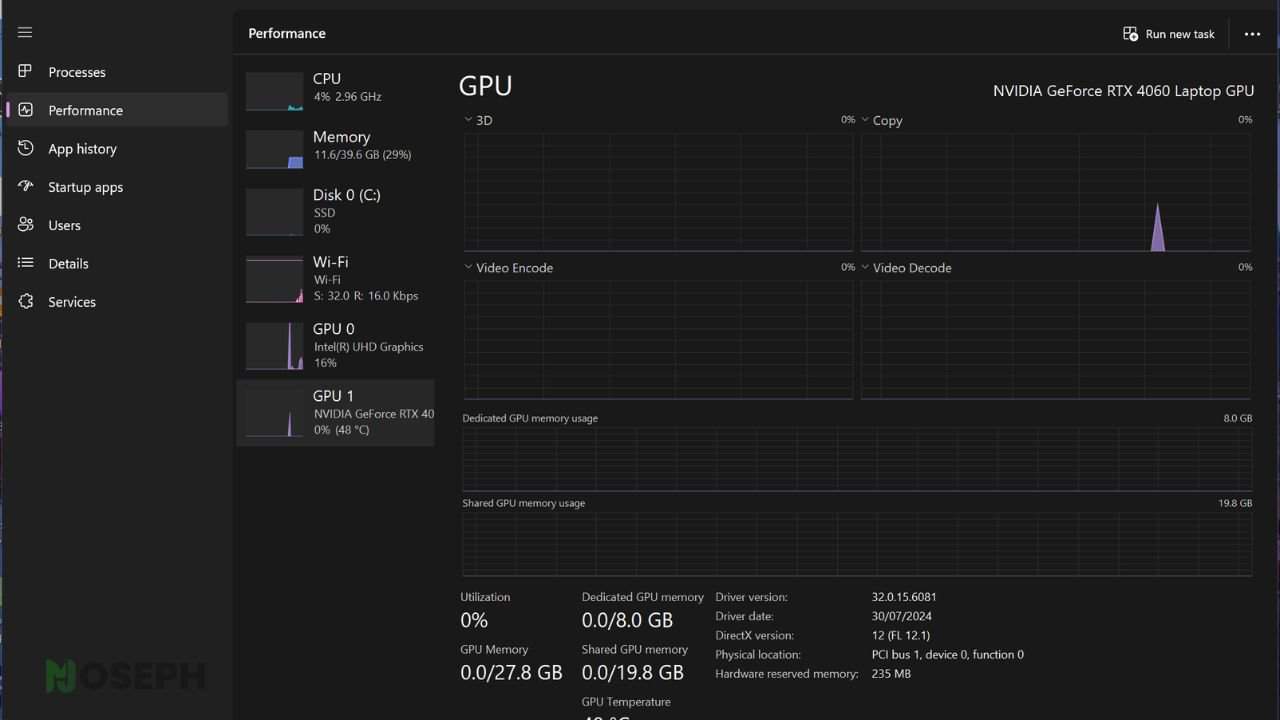
To help you understand what kind of computer setup can smoothly run the Visual Redemption mod, I’ll share the specs of the system I used for the installation.
This could give you a good benchmark for comparing the mod’s performance with your own hardware to see if it matches up well.
PC Specifications
- Graphics Card (GPU): NVIDIA GeForce RTX 3080 with 12GB VRAM – offers robust performance for graphically demanding mods.
- Processor (CPU): Intel® Core™ i7-9900k – provides the necessary power to handle complex game computations smoothly.
- RAM: 48 GB of 3200MHz DDR4 – ensures ample memory for multitasking and running the game with the mod.
Laptop Specifications
- Model: ASUS ROG Strix G16 – a high-performance gaming laptop.
- Graphics Card (GPU): NVIDIA GeForce RTX 4060 with 8GB VRAM – capable of rendering enhanced graphics efficiently.
- Processor (CPU): Intel® Core™ i9-13980HX – top-tier CPU for demanding gaming scenarios.
- RAM: 64 GB of 5800MHz DDR5 – offers a high level of responsiveness and smooth gameplay.
- Display: 240Hz/3ms QHD – provides a sharp and fluid visual experience.
- Storage: 2TB SSD – ample space for games, mods, and fast load times.
With my computer’s specs, the Visual Redemption mod works great. It runs smoothly, and the graphics look amazing with the game. This setup makes everything more immersive, and I don’t see any problems with how the game performs.
Minimum System Requirements for Visual Redemption
For the Visual Redemption mod to work well in Red Dead Redemption 2, your PC needs to meet these minimum requirements:
- OS: Windows 10 64 Bit
- Processor: Intel® Core™ i5-2500K or AMD FX-6300
- Memory: 8GB
- Video Card: Nvidia GeForce GTX 770 2GB or AMD Radeon R9 280 3GB
- Sound Card: DirectX compatible
- HDD: 150GB
This makes sure the mod can improve the game’s visuals as intended.
How to Troubleshoot Common Red Dead Redemption 2 Graphics Mod Issues
After you’ve set up everything, there’s a chance you’ll bump into some hitches. No need to worry much, though. I’ve got some straightforward advice to help sort things out.
Sometimes, the game might not run as smoothly as you’d hope. A quick fix can be tweaking the graphics settings a bit. Lowering things like shadow detail or switching off heavy-duty features could make a big difference, balancing better looks with smoother gameplay.
Updating Graphics Drivers:
Keeping your graphics drivers fresh is key. This step can seriously boost how well your mods and gameplay together. For those with NVIDIA cards, the GeForce Experience app is super handy for updates and tuning game settings.
Watching Out for Mod Mix-ups:
Mods can sometimes clash, especially if you’ve got a bunch installed. This mix-up can make the game act up. A mod manager can be a real lifesaver here, helping you keep an eye on everything you’ve added and how it all meshes together.
Testing for Stability:
Just popped in a new mod? Try running the game to see how it feels. Catching issues early means you can adjust the load order of your mods or switch some off to figure out what’s messing things up.
A good move is to revisit how you installed your mods. Ensure all mod files are correctly placed and that there’s no mod stepping on another’s toes. Sometimes, a little rearrangement or cutting out conflicting mods is all it takes to smooth things over.
Wrapping Up
By going through the steps I shared above for installing the Visual Redemption graphics mod, you should be all set for a better-looking Red Dead Redemption 2. If you’ve got any questions or need a bit of advice, feel free to drop a comment below. I’ll get back to you when I can.